E Kya Kway, Teahouse Fried Dough Sticks
အီကြာကွေး
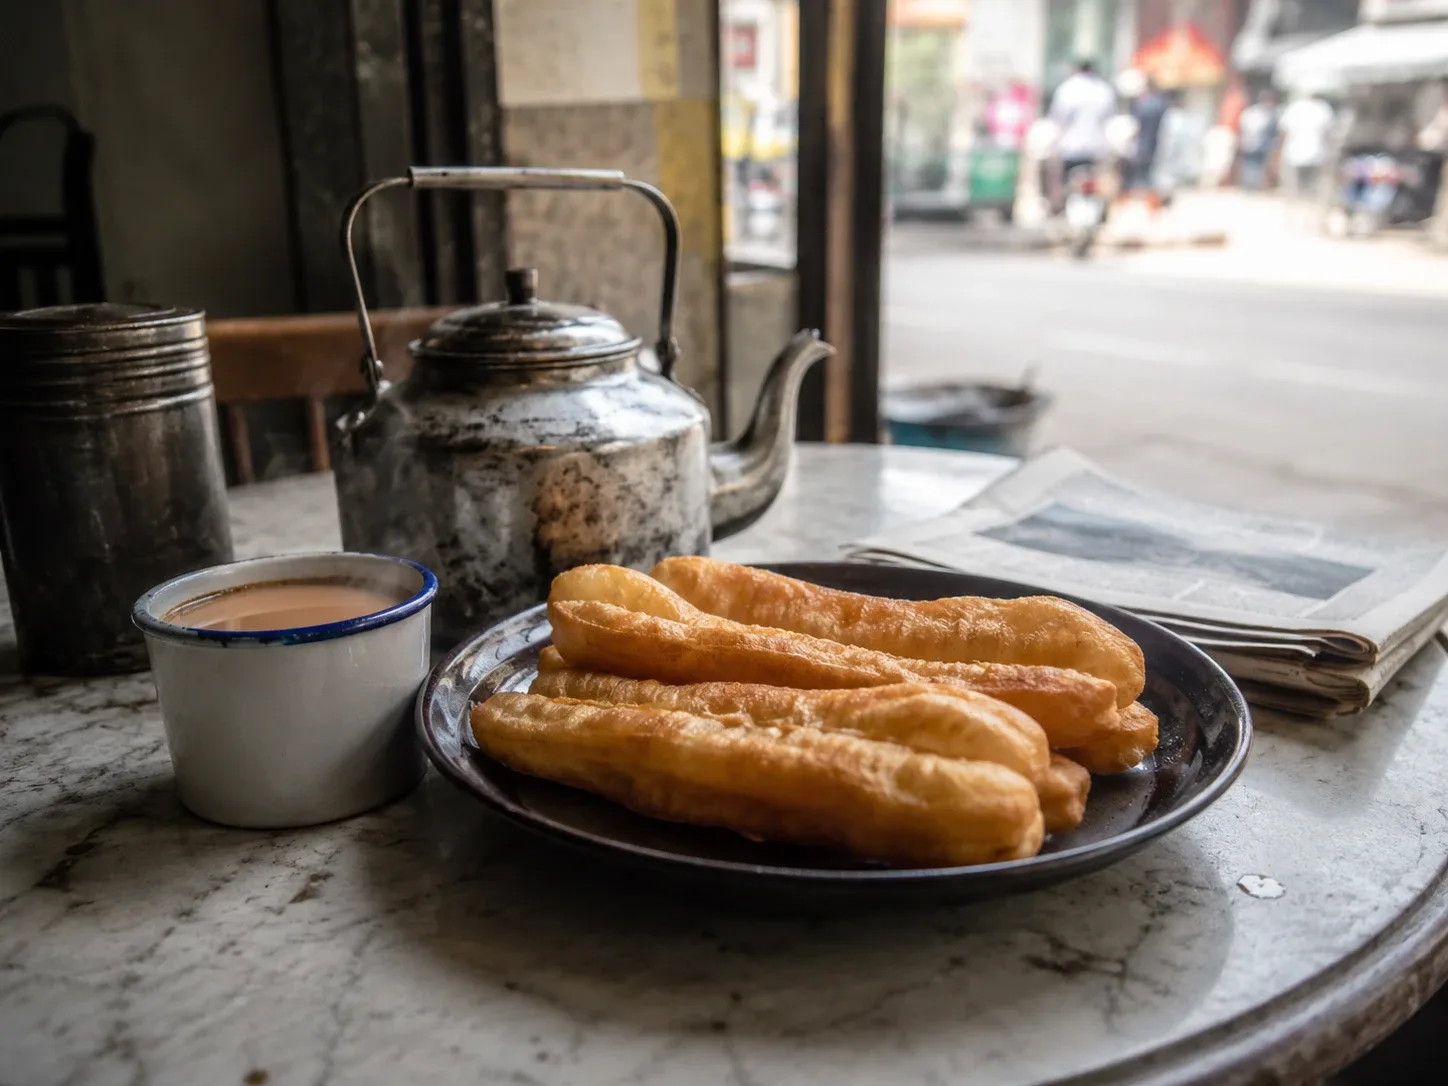
Myanmar's teahouse fried dough sticks — a slow yeasted dough cut and pressed into twin batons, fried hollow and golden, made for dunking in sweet tea.
By Burmese Cookbook Kitchen · June 27, 2026
ရန်ကုန် Yangon & Lower BurmaBritish Burma, 1826–1948
 ၆
၆- Prep
- 180 min
- Cook
- 20 min
- Serves
- 6
- Level
- Advanced
Every Burmese teahouse morning runs on the same trinity: sweet milky tea, a low stool, and e kya kway — golden fried dough sticks, fused in pairs, stacked like kindling behind the counter glass. You tear one lengthwise along its seam, dunk it in the tea until it just goes heavy, and eat it leaning over the cup. The other approved destination is a bowl of mohinga, where sliced rings of it drink the broth like savory sponges.
The stick itself is an immigrant. It is the Chinese youtiao, carried to colonial Rangoon by Cantonese and Hokkien settlers, and the Burmese name is a straight borrowing of the Hokkien one — which folk memory traces to "oil-fried devil," a snack invented, the story goes, so commoners could deep-fry an effigy of a treacherous Song-dynasty minister. That tale is legend, cheerfully unverifiable; what is documented is that within a generation or two the stick had gone fully Burmese, inseparable from teahouse culture from Yangon outward.
Frying it well is genuinely advanced work, though none of the steps is exotic. The dough must be slack and long-rested, so it stretches like a yawn instead of snapping back. The strips must be paired and pressed — the soft seam is what lets them balloon. And the oil must be fiercely hot while you turn the stick without pause, coaxing it to inflate on all sides. Get those three right and it puffs hollow, light as a rumor.
The pairing is not decoration. A single strip fries into a cracker; two pressed together shield each other at the seam and puff hollow.
မီးဖိုချောင်စကား · A word from the kitchen
Ingredientsပါဝင်ပစ္စည်း
Serves 6
Tap to check off as you gather
For the dough
- all-purpose flour
- instant yeast
- baking soda — for the last-second lift and the bronze color
- sugar
- salt
- warm water
- peanut oil — for the dough and the board
- peanut oil — for deep-frying, in a deep wide pot
Methodချက်နည်း
Tap a numeral as you finish each step
Step 1: Make a soft, slack dough
Whisk the flour, yeast, baking soda, sugar, and salt, then mix in the warm water and a tablespoon of oil. Knead only two or three minutes, until it barely comes together smooth — this dough wants extensibility, not strength. A well-developed, springy dough will fight the stretch later and fry up dense.
Step 2: Rest it long
Film the surface with oil, cover, and rest at room temperature for two and a half to three hours, until puffed and relaxed — or overnight in the fridge, which teahouse cooks would recognize, since they mix at night to fry at dawn. Time is doing the kneading you skipped.
Step 3: Shape the slab gently
Turn the dough onto an oiled board and pat — never roll hard, never punch down — into a rectangle about 10 cm wide and 1 cm thick. Cover and rest twenty minutes more. Every bubble you preserve now is a hollow you will eat later.
Step 4: Cut and pair the strips
Cut the slab crosswise into strips about 2.5 cm wide. Stack them in twos and press a chopstick firmly down the length of each pair to weld them. The seam stays soft in the oil while the outsides crisp, which is what lets the pair inflate — this is the whole secret of the shape.
Step 5: Get the oil properly hot
Heat the oil to 190 to 200°C. This is hotter than most frying and it is not negotiable — a scrap of dough should balloon within three seconds of hitting the oil. At timid temperatures the dough sets before it can puff, and you get breadsticks instead of clouds.
Step 6: Stretch, fry, and keep it turning
Pick up a pair by the ends, stretch it to about 25 cm with a gentle wiggle, and lay it into the oil away from you. Roll it over constantly with long chopsticks — constant turning is what makes it inflate evenly instead of setting flat on one side. Ninety seconds to two minutes, until deep gold and audibly hollow.
Step 7: Drain and serve within the hour
Stand them in a rack or colander to drain. Serve warm, torn and dunked into sweet milk tea, or sliced into rings over a bowl of mohinga to soak up the broth. They are at their best for an hour and merely good after — teahouses simply never let them sit that long.
ခွက်ယောက် · The tools
Equipment
Frying thermometer
အပူချိန်တိုင်းThe difference between shattering buthi kyaw and greasy buthi kyaw is oil held at temperature — stop guessing.
Shop on Amazon →Frying spider
ဇကာLift fritters clean out of the oil and drain them fast, before the crust turns soft. The street cook’s third hand.
Shop on Amazon →Noodle basket / colander
ဆန်ခါBlanch and lift rice noodles in seconds — mohinga service moves fast, and soggy noodles wait for no one.
Shop on Amazon →
Equipment links are Amazon affiliate links. As an Amazon Associate we earn from qualifying purchases, at no cost to you. Disclosure.
ဟင်းစုံ · Set the table
A Burmese meal is a spread
Snack-shop fare, eaten with the usual scatter of condiments:
- Si chet, chili oilဆီချက်The fragrant red oil every household keeps by the stove.
- Crispy fried shallotsကြက်သွန်ကြော်A spoonful of crunch and sweet shallot oil over anything.
- Teahouse milk teaလက်ဖက်ရည်How a Burmese meal ends — sweet, strong, and slow.
Questions from the kitchen
Why didn't mine puff?
Almost always the oil — it must be at 190°C or better, hot enough to balloon a test scrap in seconds. After that, the usual culprits are a dough kneaded too much or rested too little, both of which kill the stretch, or forgetting to keep the stick turning while it fries.
Can I make the dough the night before?
Yes, and you should — a slow overnight rest in the fridge relaxes the dough completely and deepens its flavor. Bring it back toward room temperature for half an hour before shaping, and handle it like something sleeping that you would rather not wake.
What do I do with leftover ones?
What the teahouses do — cut them into rings and drop them into soup. Day-old e kya kway over mohinga or a bowl of rice porridge is not a compromise; plenty of people order it that way on purpose. A few minutes in a hot oven also brings most of the crispness back.
နောက်တစ်ခု · Cook next
Keep the wok hot
 ၆
၆Street & Fritters · 40 min · Intermediate
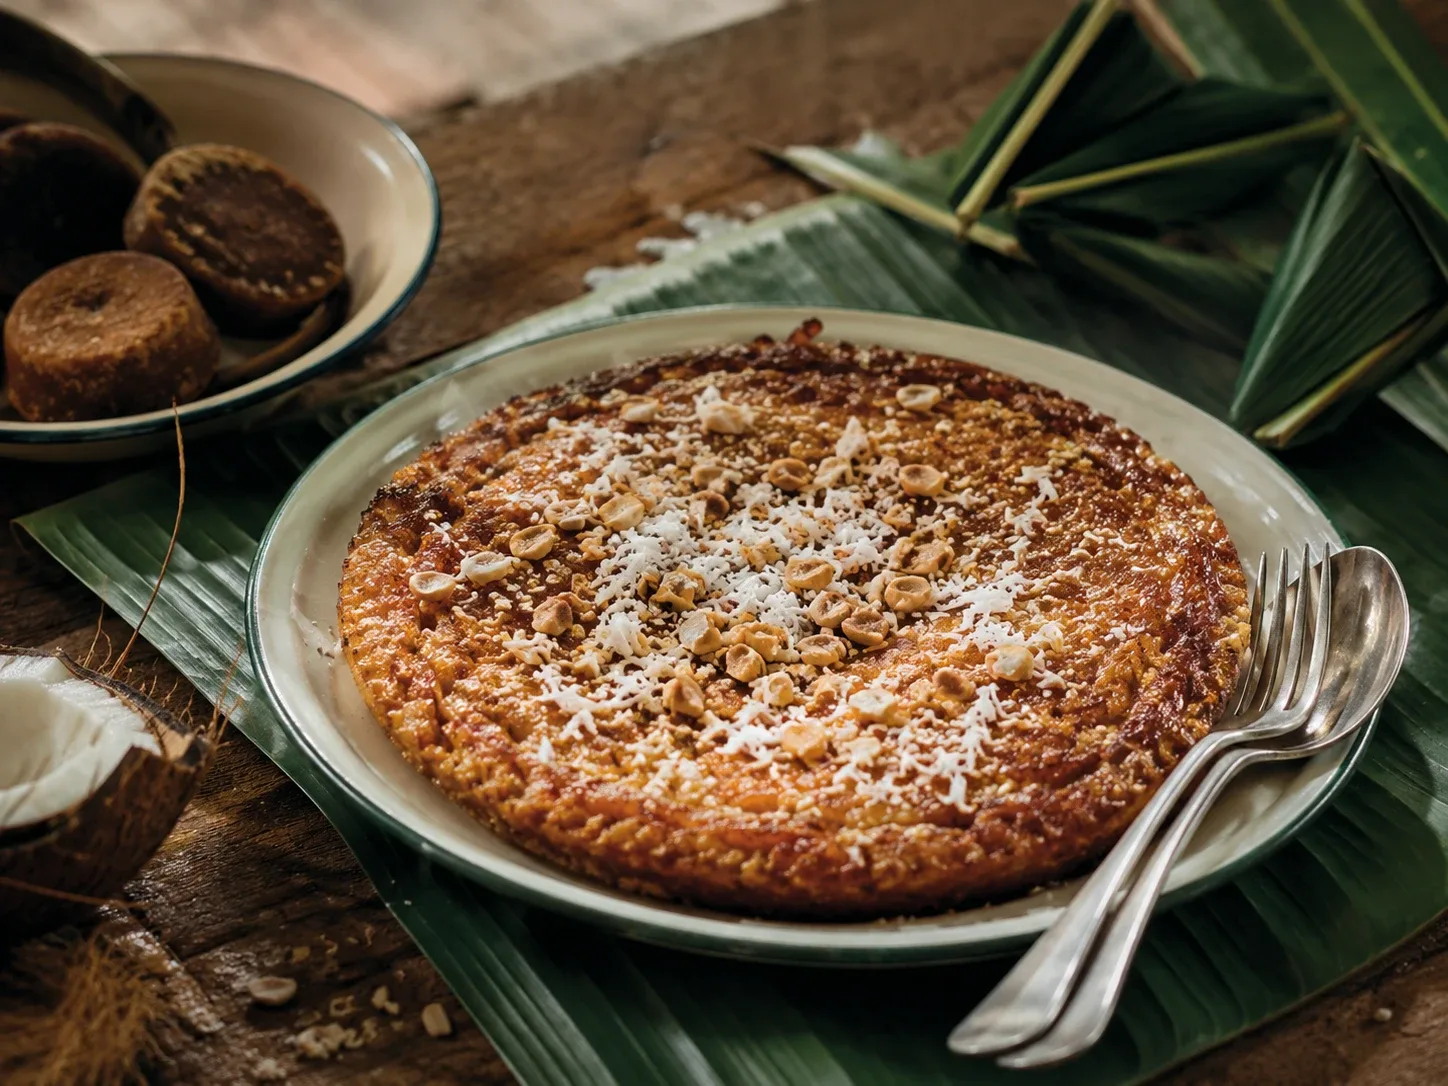
Bein Mont, the Jaggery Griddle Pancakeဘိန်းမုန့်
A thick rice-flour pancake raised on jaggery and crisped in a covered pan, showered with peanuts, coconut, and sesame — Lower Burma's teashop griddle mont.
 ၆
၆Street & Fritters · 25 min · Beginner
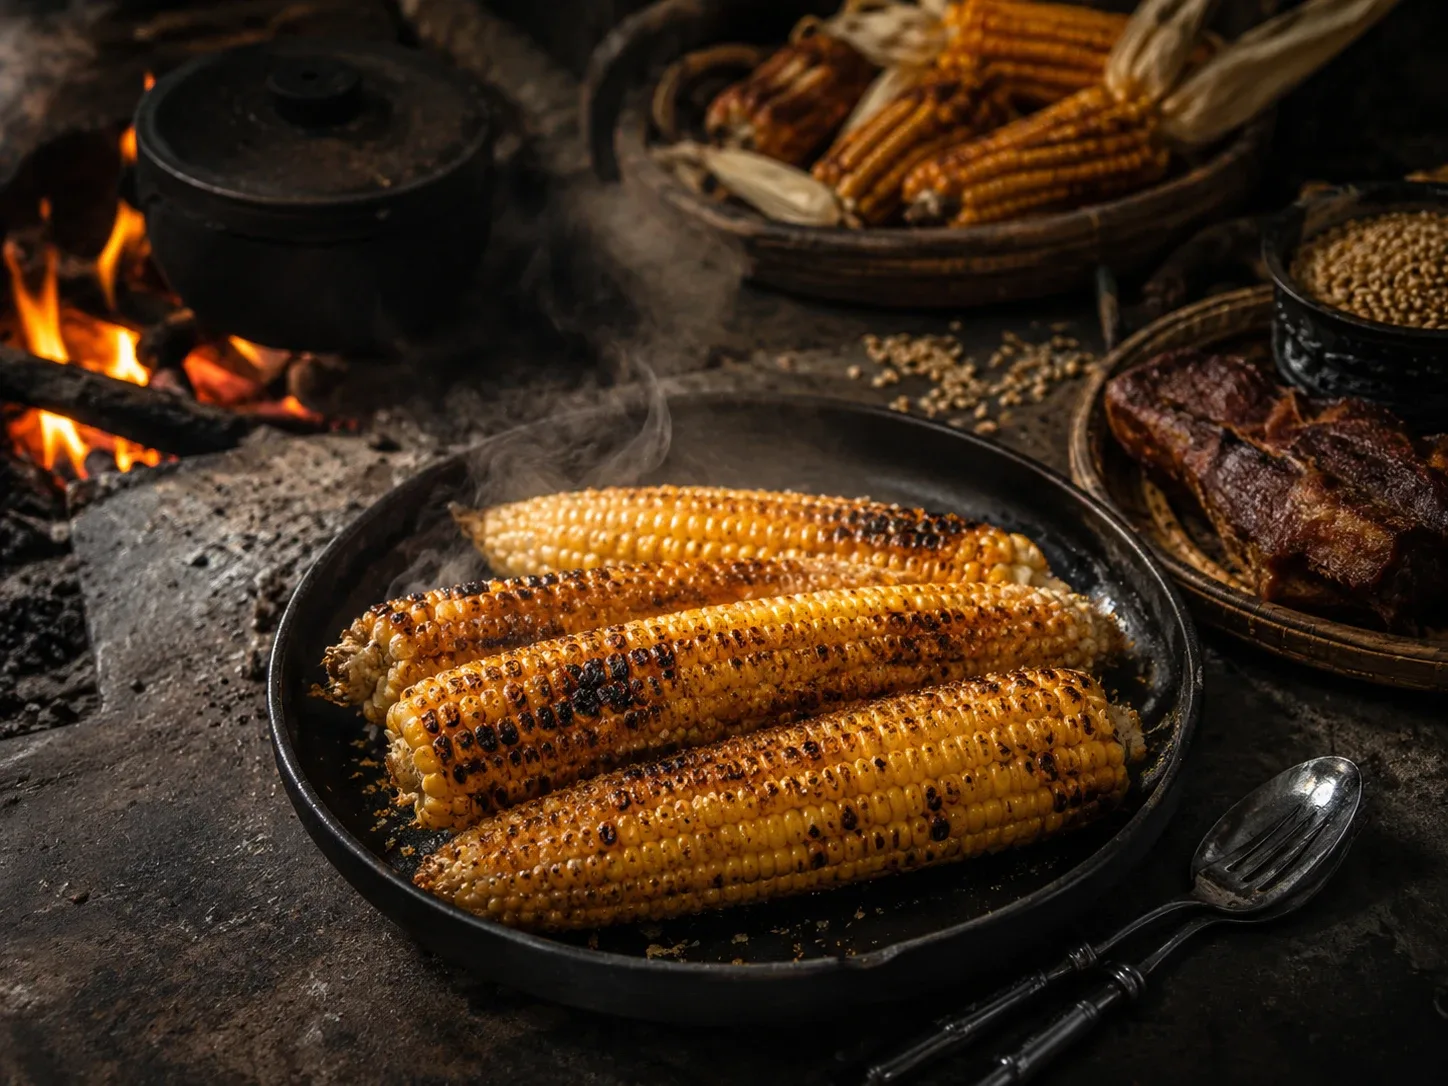
Fire-Roasted Corn with Chili Salt
Ears of corn roasted dark over open coals and rubbed with pounded chili salt — the taste of a Chin market morning, where maize is the mountain staple.
 ၅
၅Soups & Broths · 165 min · Beginner
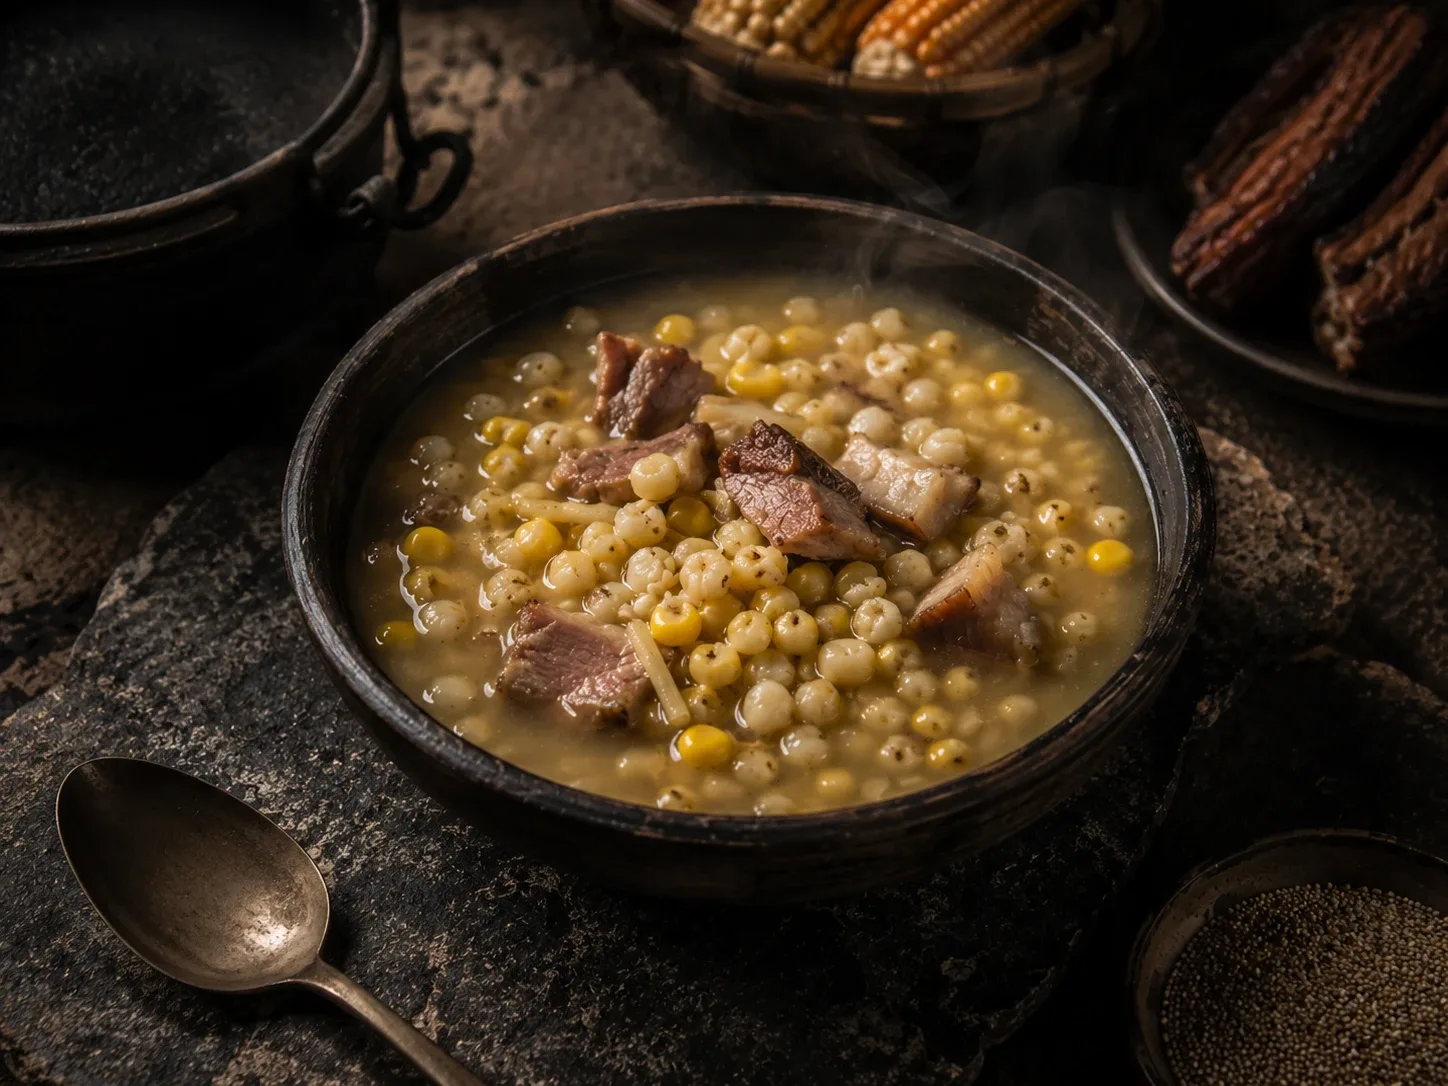
Sabuti, the Chin Corn Soup
The Chin hills' great corn soup — hominy maize simmered slowly with smoked pork and ginger, frugal mountain cooking that somehow eats like plenty.